Required access: Manager or Admin · Paid plan (invites blocked on Free)
Invite colleagues into the current organisation with a role that matches their job. Permissions are organisation-scoped — the same person can be Admin in one workspace and Viewer in another.
Read What each role can do before you assign Admin.
Open Team members
- Sign in at
/admin. - Confirm you are in the correct organisation (switcher in the header if you belong to several).
- Open Access control → Team Members.
- Click Create.
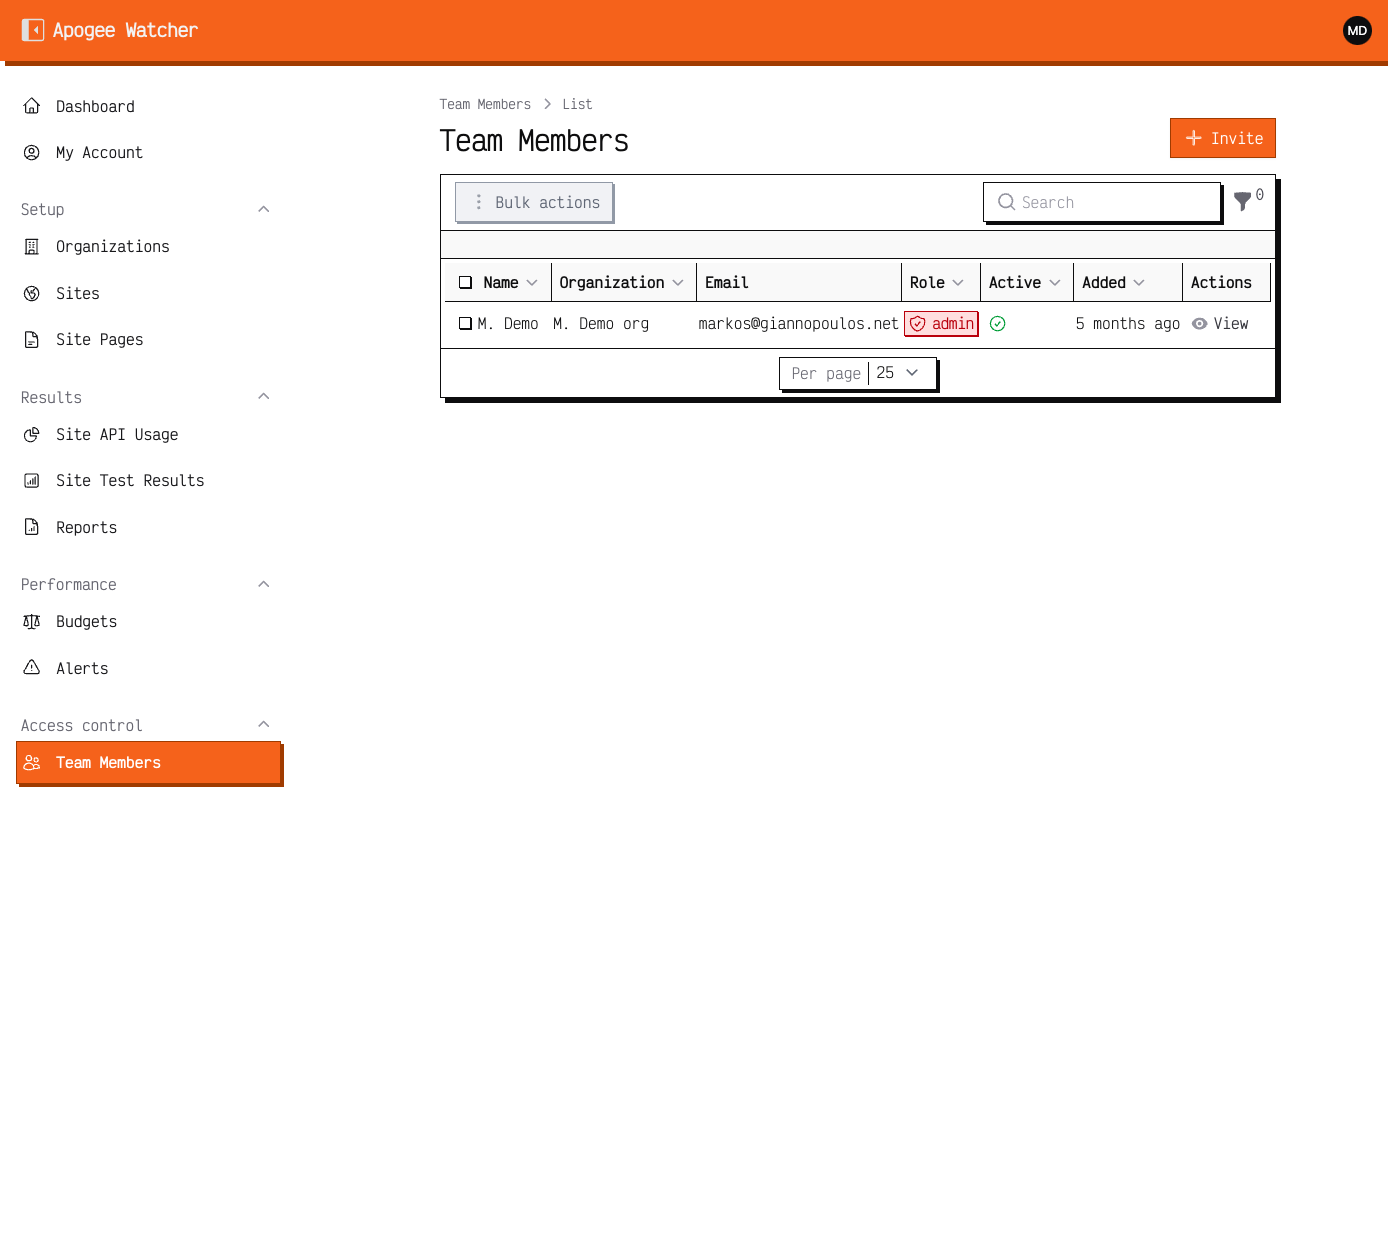 Team Members — Admins see Create and can assign any role.
Fill in the invite
- Enter the person’s email.
- Choose the organisation (when you belong to more than one).
- Choose a role:
- Admin — billing contact, membership, full configuration (Admin inviters only)
- Manager — delivery work: sites, pages, budgets, tests; can invite Viewers only
- Viewer — read-only dashboards, results, reports, alerts
- Save / send the invitation.
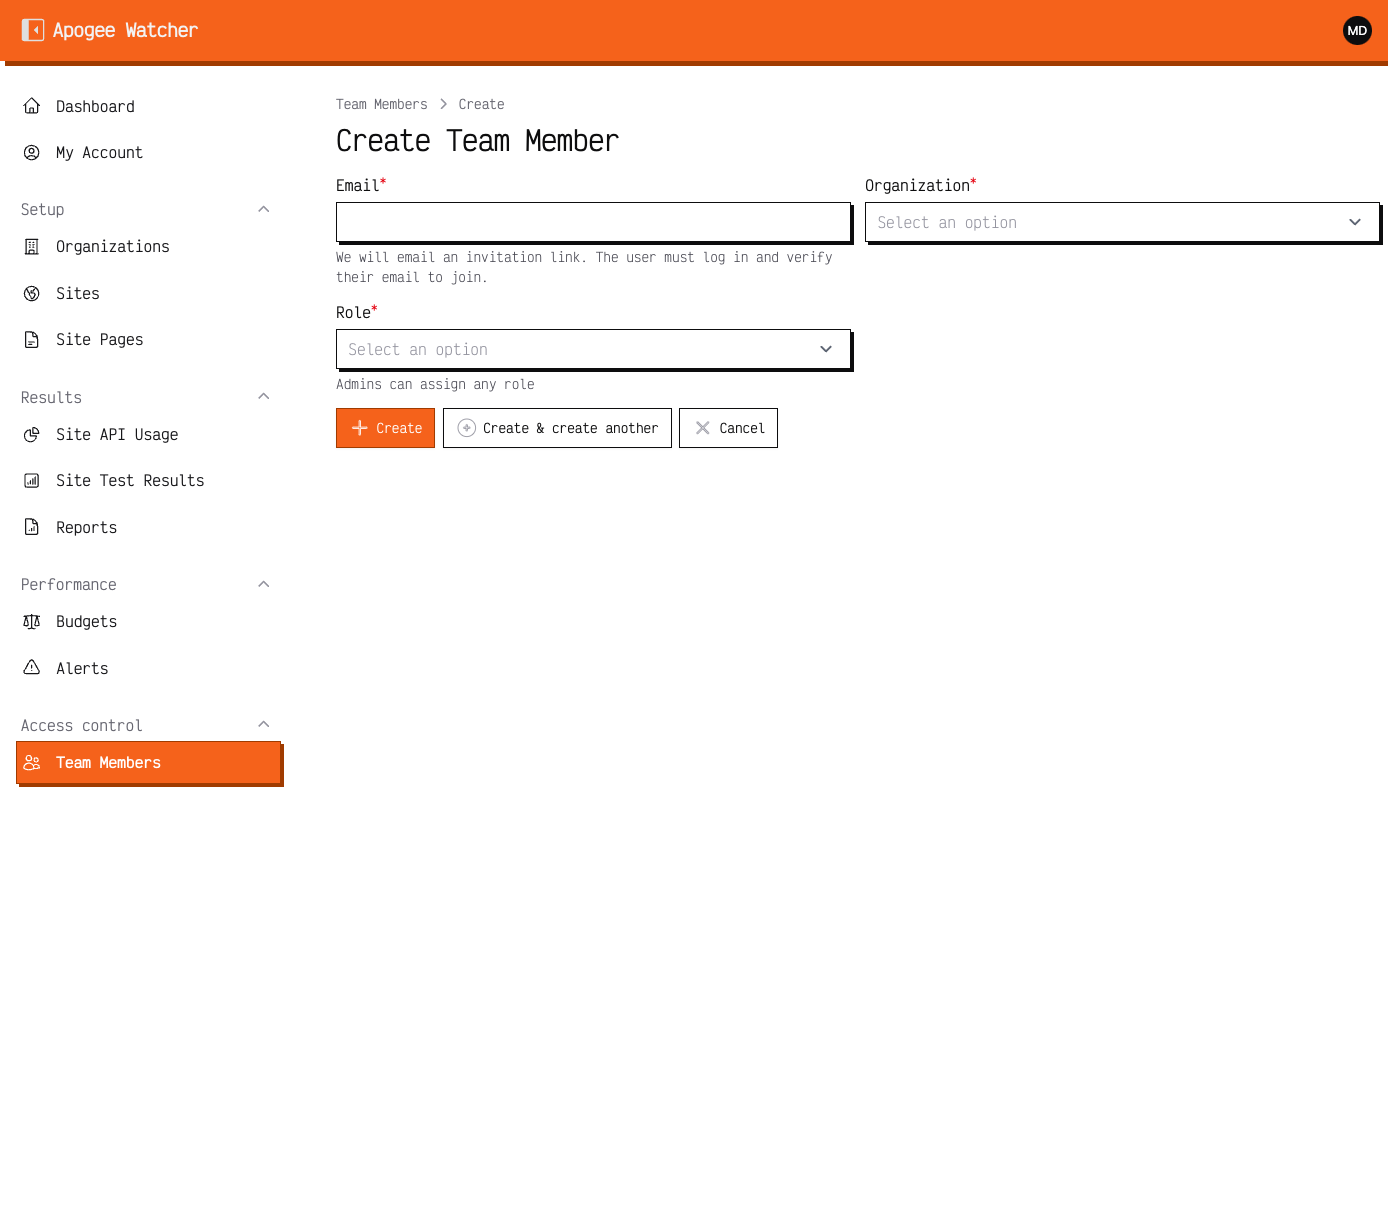 Create Team Member — email, organisation, and role; Watcher emails the invitation link.
Watcher emails an acceptance link (/team/invitations/accept/{token}). The invitee must verify email before the membership becomes active.
Admin vs Manager when inviting
| Task | Admin | Manager |
|---|---|---|
| Invite Viewer | Yes | Yes |
| Invite Manager | Yes | No |
| Invite Admin | Yes | No |
| Edit/remove Viewer | Yes | Yes |
| Edit/remove Admin / Manager | Yes | No |
On the Free plan, Create on Team members is unavailable. Upgrade first — Free plan vs paid.
After you invite
- Ask the invitee to open the email and complete acceptance.
- Confirm they appear as an active member on Team Members.
- Point Managers at First organisation and site; point Viewers at Run a test and read results (view-only sections).
Keep one or two Admins for billing and digests. Use Managers for weekly monitoring. Add client stakeholders as Viewers.